# Configuring Content Connector
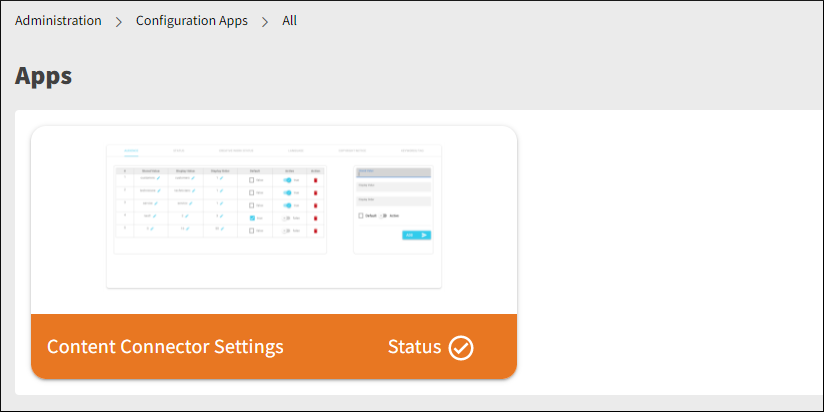
Use the Content Connector Settings app to create custom values for fields on the Content Connector forms.
To access it, use one of two methods:
- Click the cog wheel button
 on the Content Connector home screen.
 - Go to Configuration Apps in the Administration section of the left navigation menu.
The configurable fields in Content Connector are:
- Audience types
- Status
- Creative Work Status
- Language - used for localization
- Copyright Notice - default value
- Keywords/Tags
Settings configured here are present on other pages and applications. For example, assume that you configure several keywords using the configuration application. Anytime you encounter a keyword/tag field, the list is populated, allowing you to click on keyword links to add them.
# Understanding configurable fields
# Audience
This field allows you to select an audience for a specific piece of content. For instance, highly technical content could be intended for an audience of technicians, and a user manual could be created for an audience of end-users.
# Status
The current status of the content:
- Published - the content has been approved and is currently in use.
- Draft - the content is currently being worked on or is in a review and approval queue.
- Inactive - the content is no longer in use.
# Creative Work Status
The status of the external creative content referenced in this content connector.
# Language
The Language field in Content Connector is used to select languages for localization. ISO 639-1 or 639-2 International language codes can be used.
# Copyright Notice
Copyright of the creative work used in this content connector. A default copyright notice can be saved in the Content Connector configuration.
# Keywords and Tags
These are used to improve search results and categorize content connectors to be displayed in groups.
# Configuring multi-select values
Here is an example of how to add a new Audience type. Different types of information are aimed at different audiences. For example, you may want to configure an audience of Call Center employees.
- Open the Content Connector Configuration Application.
- Ensure that the Audience tab is selected.
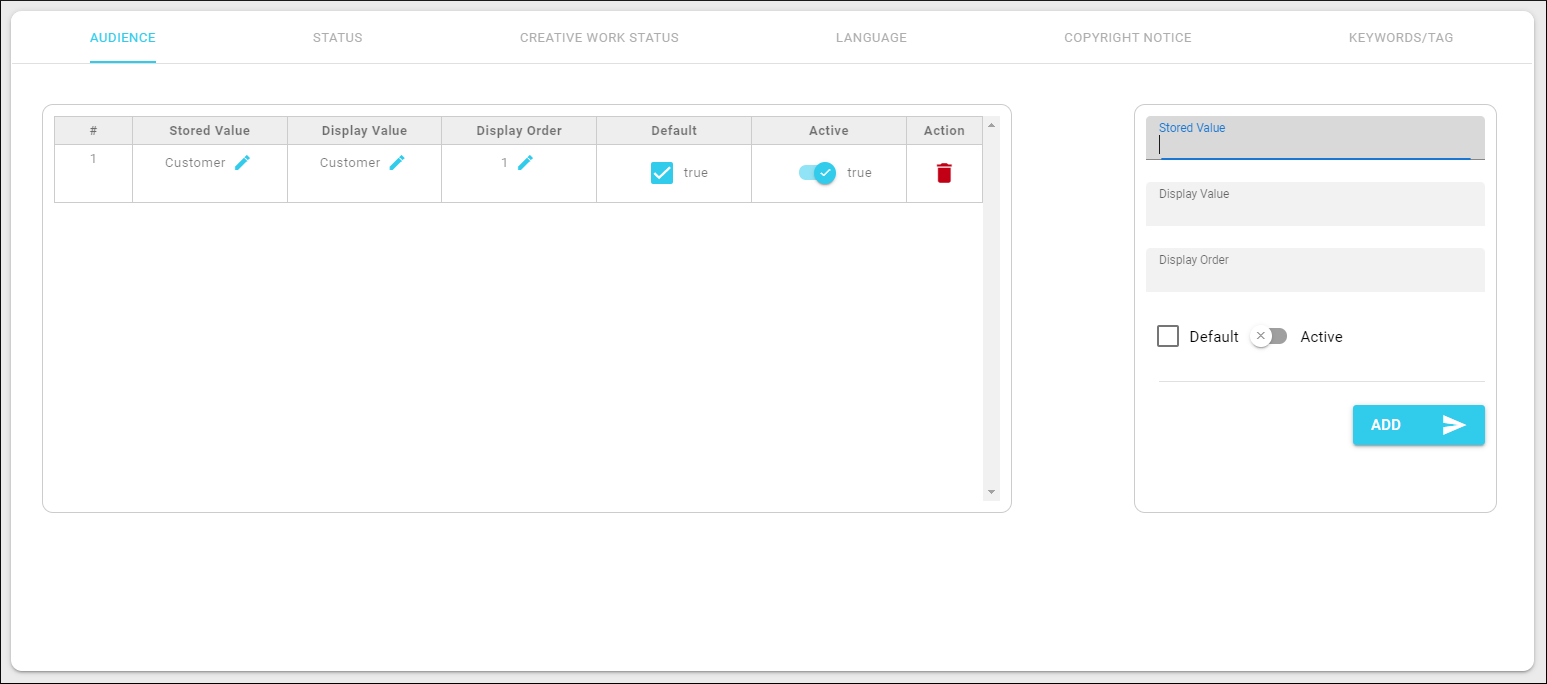
The configuration app displays configured values on the left side. Use the right side to configure new values.
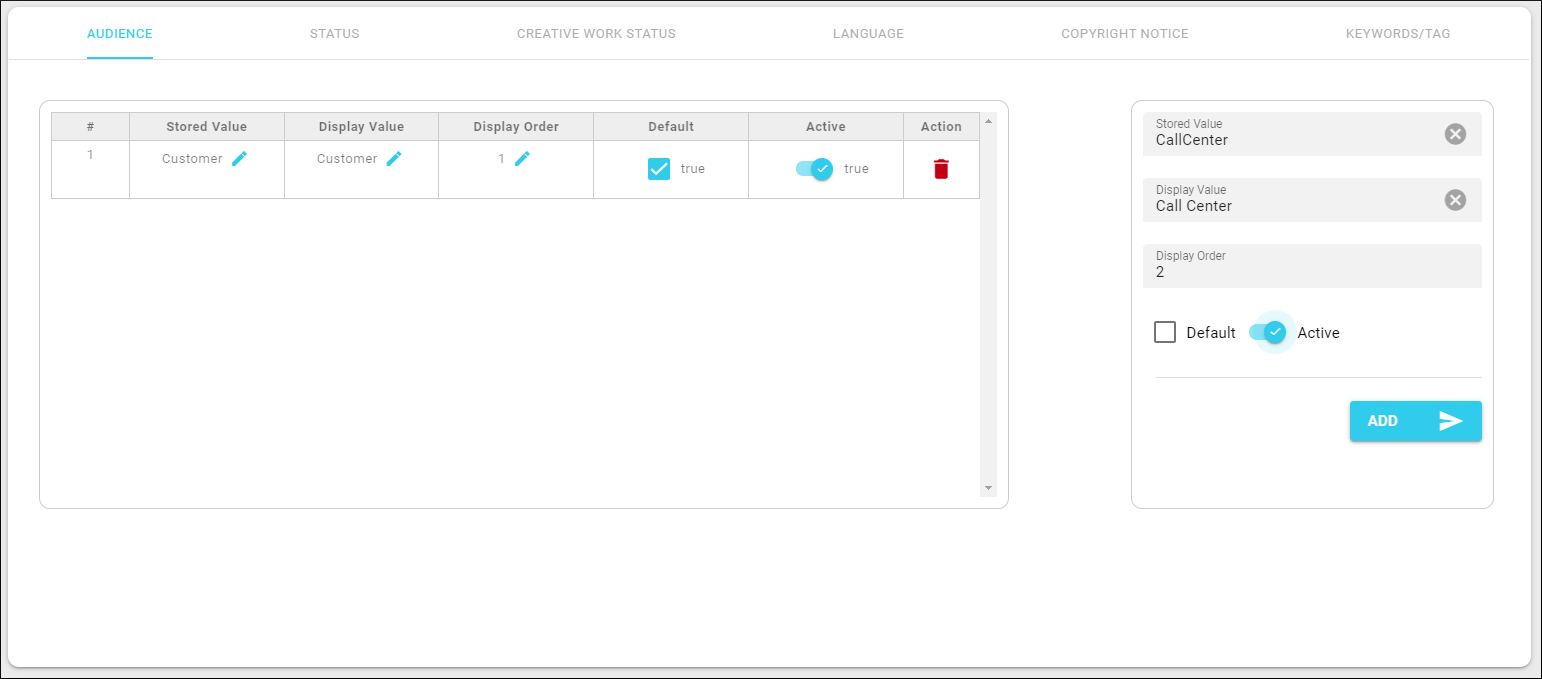
- Add another selection called 'Call Center'.
| Field | Description |
|---|---|
| Stored Value | This is how the value will be stored internally by the application - for example, 'call_center'. |
| Display Value | This is how the value will be displayed to the users. For example, 'Call Center'. |
| Display Order | This is the order in which the values are displayed. In this example, the Call Center value will appear 3rd within the multi-select field drop-down. |
| Default | Check this box if this value should be displayed as the default. |
| Active | Determines whether the value is visible in the multi-select field drop-down. Setting Active to false will hide the value from users, making it unavailable for selection. |
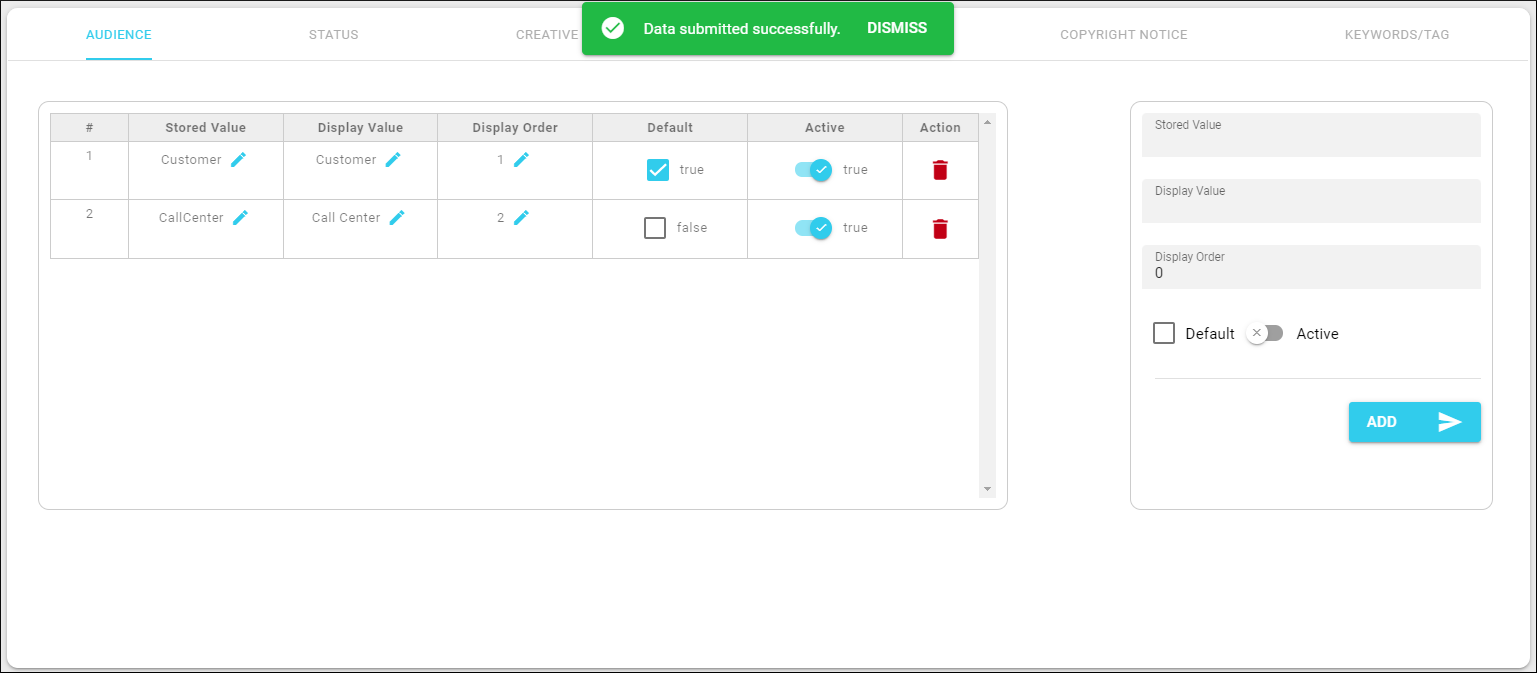
- Click the Add button to save the information to the database. The new value should appear on the left.
The new value is saved automatically. A confirmation pop-up is displayed.
# Modifying configured field values
There may be instances when you want to change or deactivate a value, so it doesn't appear in a list.
- Open the Content Connection Configuration Application.
- Click on the appropriate tab across the top.
- Scroll through the list on the left side of the page to locate the value you want to change.
- Click on the row to change the value information. You can now make the change you desire.
- Click the green checkbox to save.
The new value is saved automatically. A confirmation pop-up will be displayed.

# Deleting values
- Open the Content Connection Configuration application.
- Click on the appropriate tab across the top.
- Scroll through the list to find the value that you want to delete.
- Click the delete button
 .
. - Click OK to confirm.
A confirmation pop-up will be displayed.
