# Exporting your registration data
NOTE
To use the Data Export feature, you must be a member of the Data Export Users group. To learn how to update user group membership, read Access Permissions.
To export all of your registration data:
- In the left-side navigation panel, go to Applications > Data Manager.
- In Data Manager, open the Data Export tab.
- Select a file type.
- Click Export.
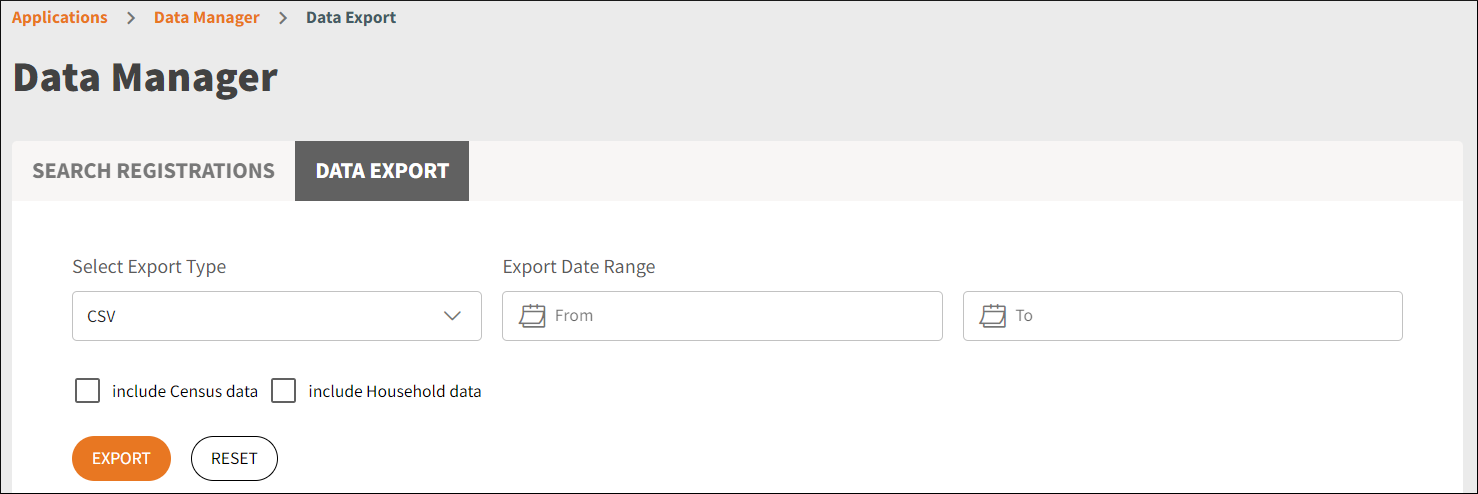
To include data from QuickInsight Reports, check include Census data or include Household data.
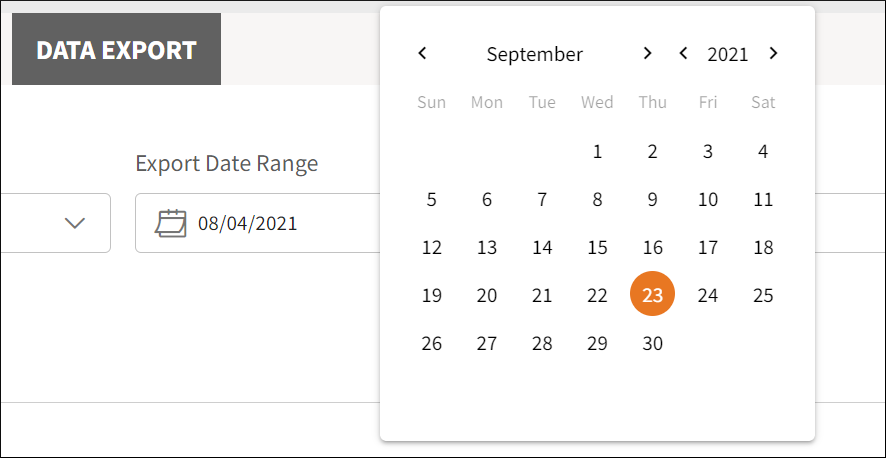
To limit your data export to a specific period, select a file type and a date range and click Export.
To clear your selections, click Reset.
The latest export will be added to the top of the exports list below, and the status column will show an in-progress indicator.
Once the export job is completed, the status will change to Completed, and a download button will appear on the right.
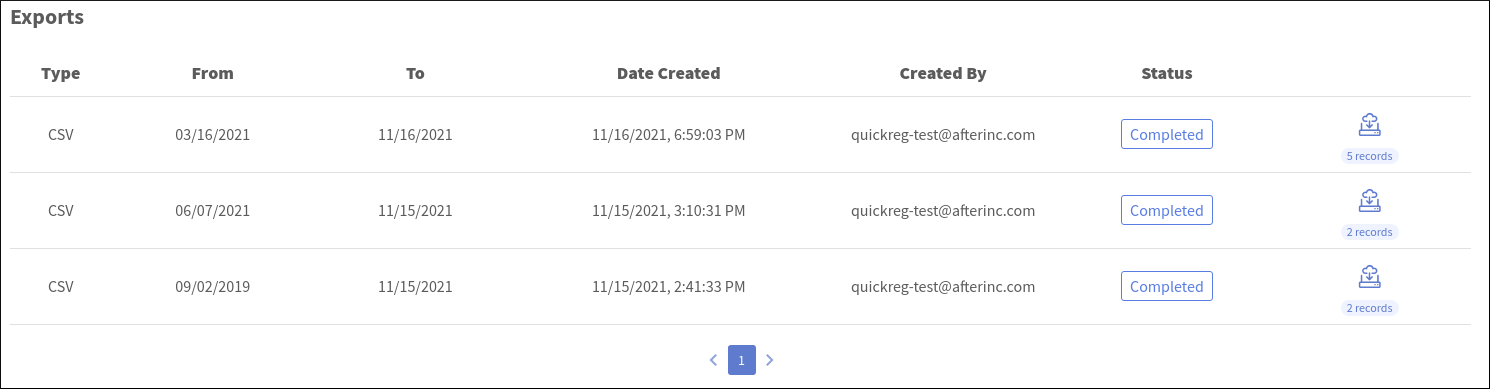
Click the download button  to download your data file.
If the export job fails, the status will change to Error.