# Overview
You can configure product categories and brands on the Setting tab.
To access the settings:
- Go to Applications > Product Manager on the left-side navigation panel.
- Click Settings.

# View Brands
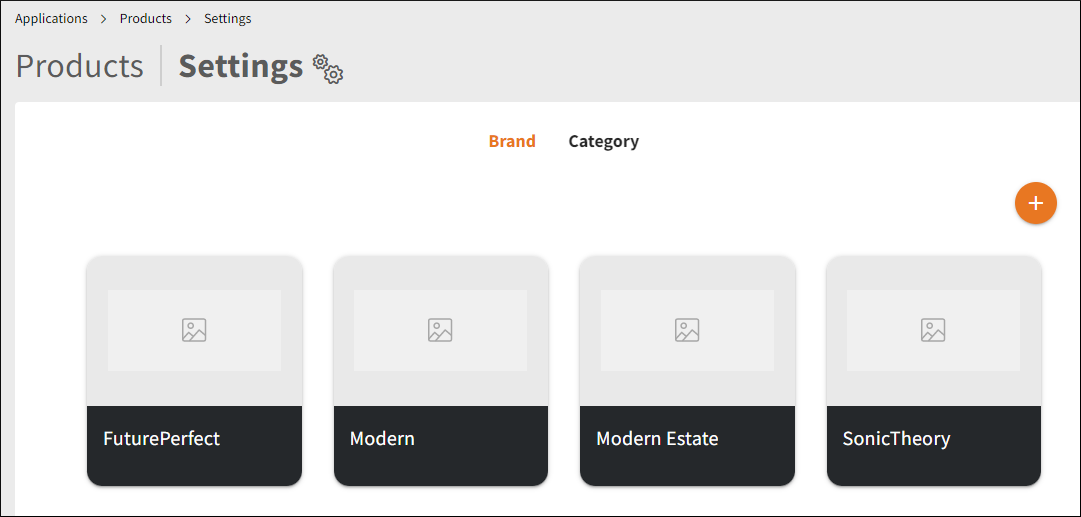
Configuring brands is especially useful if your product library contains products of different brands.
To view your company's brands:
- Go to Applications > Product Manager on the left-side navigation panel.
- Click Settings.
- Select the Brand tab.

# Add Brands
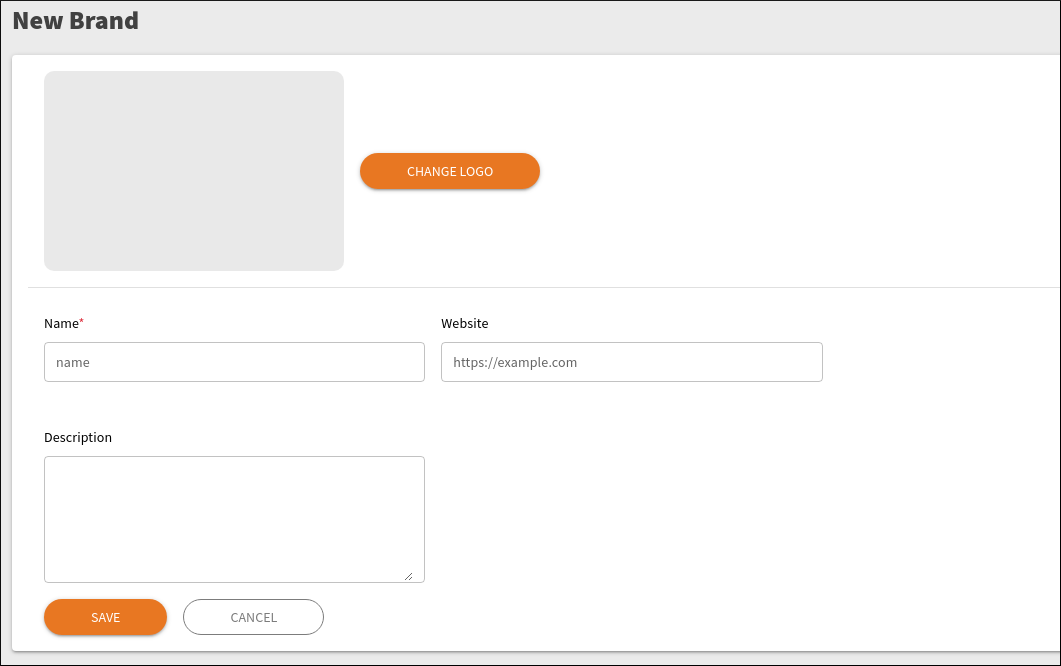
- Select Brand under Product Manager Settings.
- Click
 to open a blank form.
 - Click CHANGE LOGO to upload the brand logo.
- Fill out the form.
- Click SAVE to save the new brand, or CANCEL to close the form without saving.

# Edit Brands
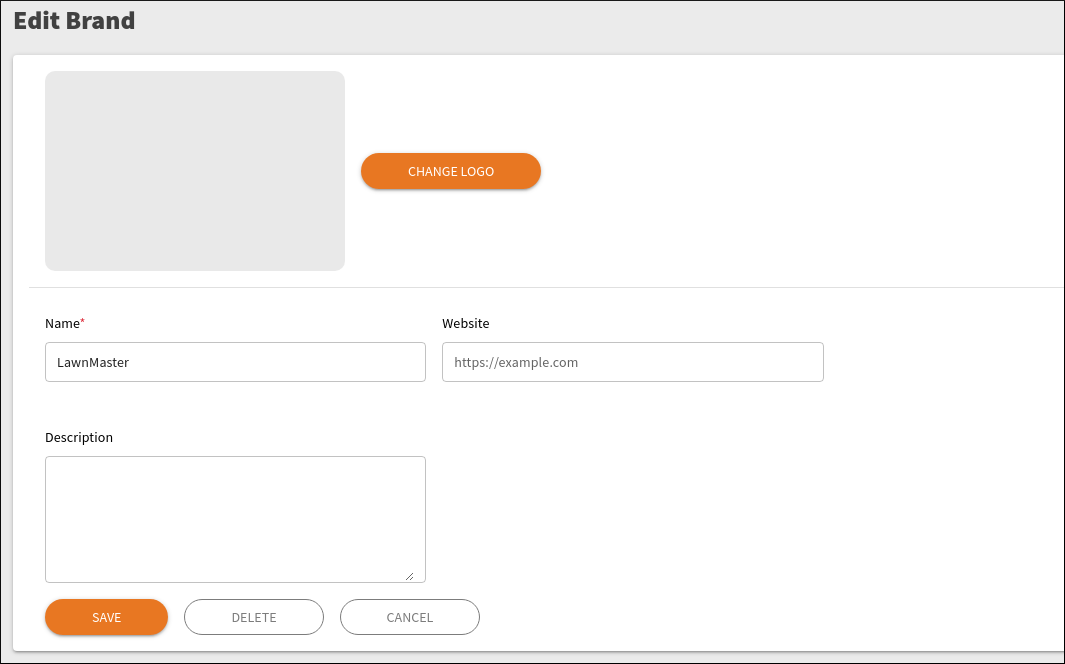
- Click the brand you want to edit.
- Update the brand details.
- Click SAVE.

# Delete Brands
- Click the brand you want to delete.
- Click the DELETE button.
- Click Delete in the confirmation box.

The brand will be deleted forever.
# View Categories
To enhance product search, organize your products into categories across brands.
- Go to Applications > Product Manager on the left-side navigation panel.
- Click Settings.
- Select the Category tab.

# Add Categories
To add a new category:
- Click the
 .
. - Enter a name for the new category.
- Click Save.

TIP
Because categories are used throughout Product Manager, which may be used by other applications, such as QuickClaim and QuickCover, consider your naming convention when creating entries.
# Edit or Delete Categories
To edit or delete an existing category, click on it in the list to open an edit form.

WARNING
Changing the category name will change it for all existing product records. Deleting a category can be done only when there are no products associated with the category.
