# Creating and Editing Forms
- In the left-side navigation panel, go to Applications > Form Builder.
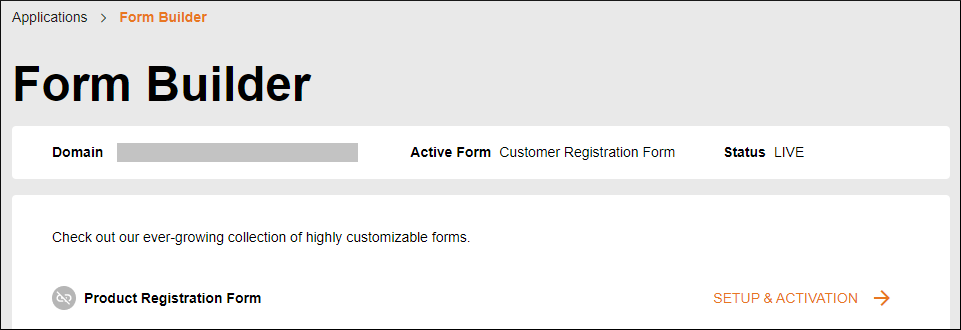
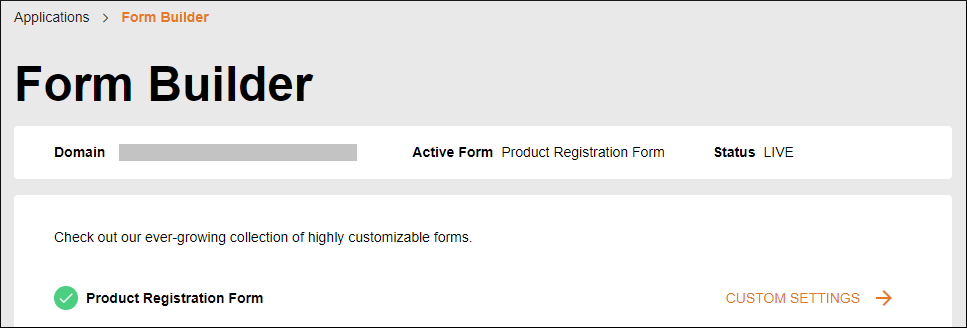
- On the Form Builder page, locate the Product Registration Form row.
- To open the form wizard:
- If you have not built a product registration form yet, click Setup and Activation.
- If you already have a product registration form, click Custom Settings.
- If you have not built a product registration form yet, click Setup and Activation.
# Customizing the Appearance of a Form
On the Appearance tab, you can modify the look and feel of the registration page that QuickReg® will generate.
To display or hide product model and description, toggle Model and Description settings on or off.
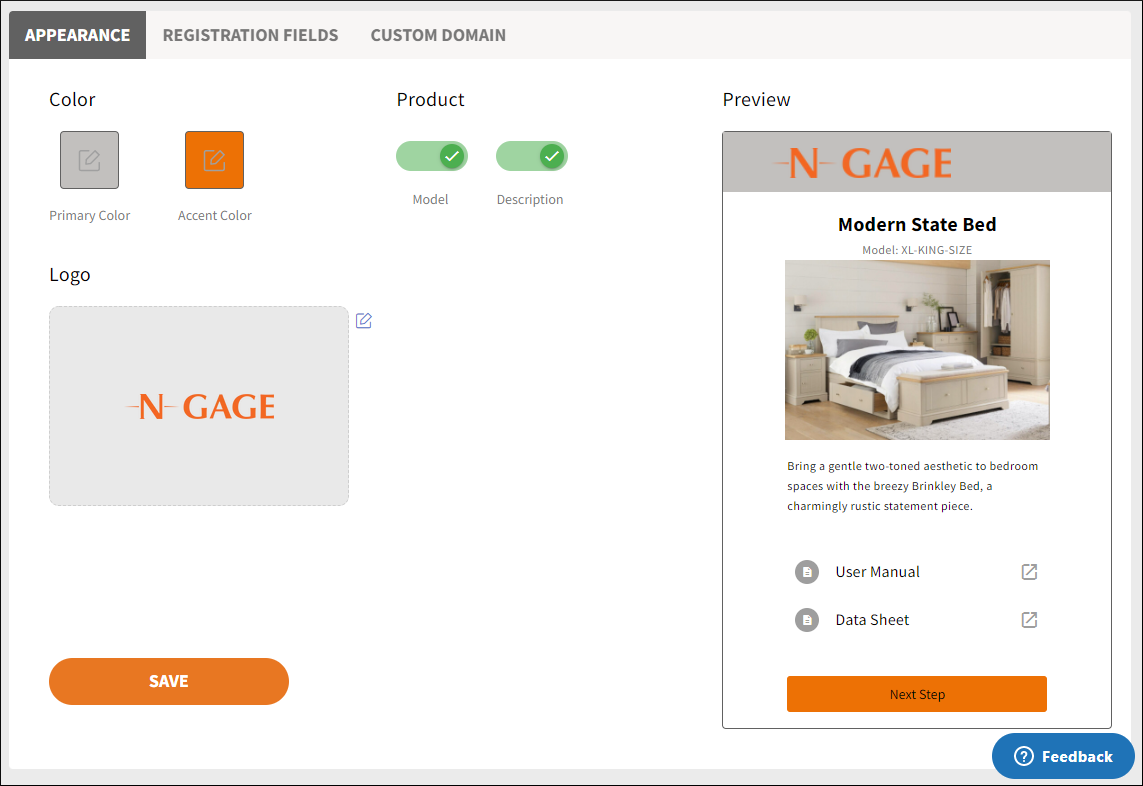
The changes you make are reflected in the Preview panel on the right.
# Change colors
There are two color settings that you can alter for the registration site:
- Primary Color changes the background color for the top bar on the page.
- Accent Color changes the background color on items, such as buttons.
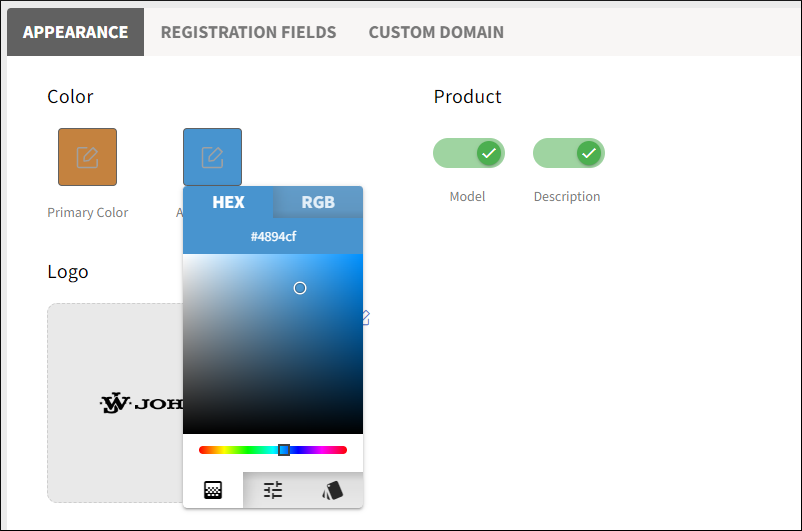
To change one of these colors:
- Click a color swatch in the Color section.
- Use the color gradient, Use the color gradient or enter a hex or RGB value.
# Upload a logo
You can upload a logo to use on your site. The logo appears in the top bar on the registration page, and the image size can be modest. Larger images will be scaled down to fit.
# Review and save
TIP
Remember to save your changes once you are done altering the form's appearance.
Once you have updated the colors and logo, click the Save button.
# Configuring the Form
On the Registration Fields tab, you will select the fields used to collect registration data from your customers.
Indicate whether your form is intended for consumers or business customers by selecting Consumer Type.
# Consumer options
If you select Customer Type as Consumer (the default option), your form will be well suited to collecting information from consumers. You can click each element to enable or disable it.
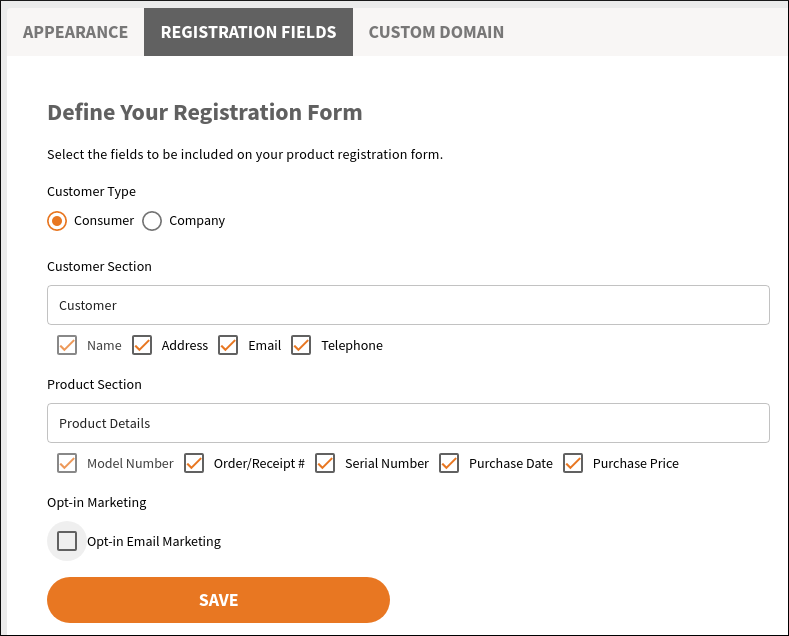
As a best practice, we recommend collecting only the elements needed by you to serve your customers. This allows for a shorter, easier form for customers to complete, increasing registration rates.
You can modify the default section headings displayed on the form. Type in the values you want to use:

# Company options
Functionally, the Company version of the form works similarly but differs from the Consumer version by adding a Contact section. By default, the contact elements are off.
# Non-editable registration field
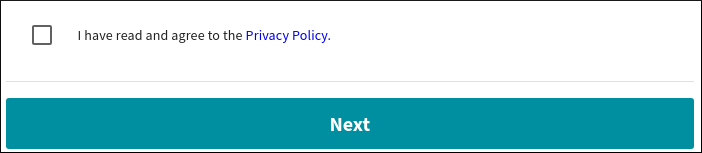
A privacy policy acknowledgment checkbox that cannot be removed will appear on the form. The customer is asked to acknowledge the terms of your privacy policy. You can save a link to the privacy policy in Account Settings.
# Review and save
When you are satisfied with the elements you will collect, press the Save button.
IMPORTANT
You control and can download the data collected on your form. Because collection and use of customer information, particularly from consumers, may be subject to local regulations, you should seek counsel on how to comply with such regulations.