# Creating and Editing Forms
In the left-side navigation panel, go to Applications > Form Builder.
On the Form Builder, locate the Customer Registration Form row.
If you have not built a customer registration form yet:
- Click Setup and Activation.
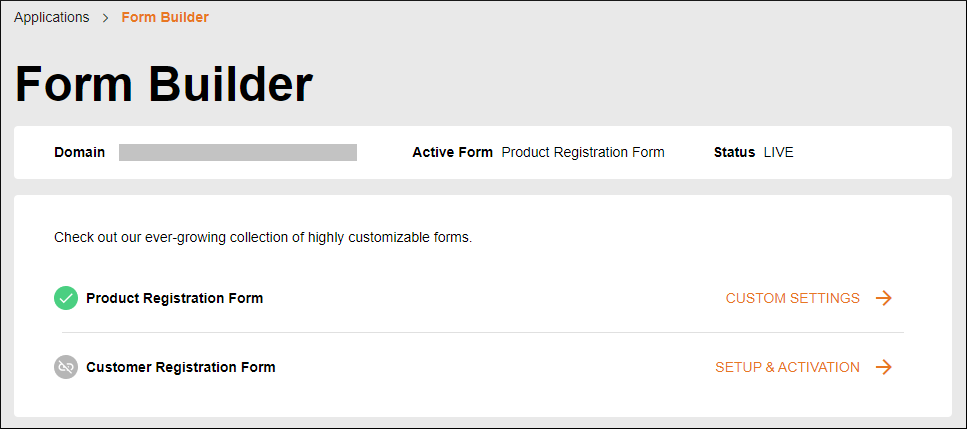
- Under the form template, click Get Started.
If you already have a customer registration form:
- Click Custom Settings.
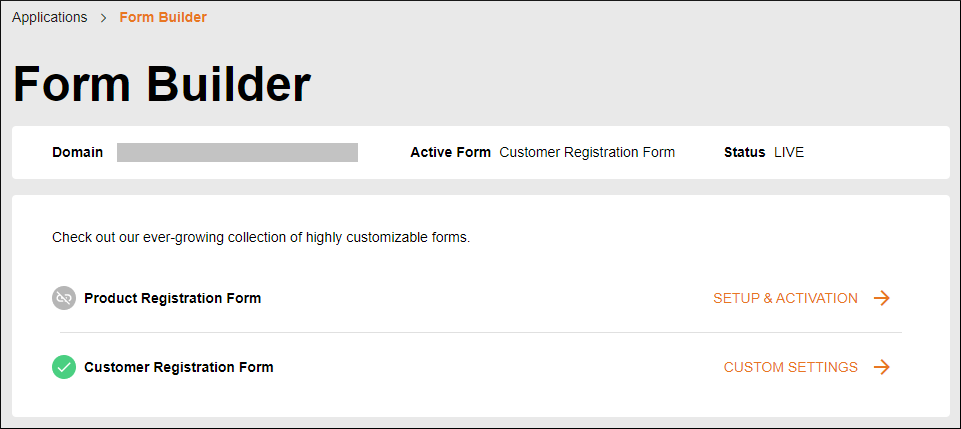
- On the form card, click Edit.
# Configuring a Form
In the customer registration form wizard, the configuration controls are on the right, and the form preview is on the left.
To switch the preview between mobile and computer screen format, click  to the left of the form preview.
The form wizard has three pages:
- Main Page contains the form your customer fills out to create a registration.
- Confirmation Page is displayed after the customer submits a registration.
- Email is a template for an email the customer receives after submitting a registration.
To switch between the pages, use the tabs in the top-right of the wizard.
To save your changes, click Save & Publish.
To close the wizard, click Back. Any changes you don't save will be discarded.
# Registration fields
To configure the registration fields your customer needs to fill out, expand Registration Fields and Opt-in Settings on the right.
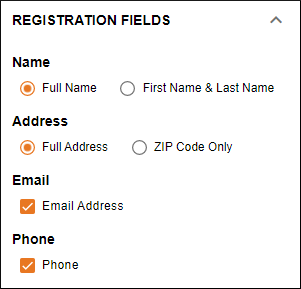
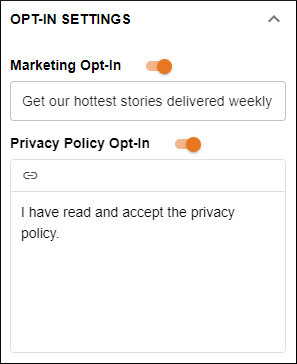
In the Opt-in Settings, you can choose to display a marketing opt-in check box and a privacy policy check box.
# Form appearance
To configure form appearance, expand Layout Settings and Appearance on the right.
In the Layout Settings, choose what text is displayed on the page.

In the Appearance settings, you can:
- Configure the color scheme.
- Upload images.
- Set the size of your logo.
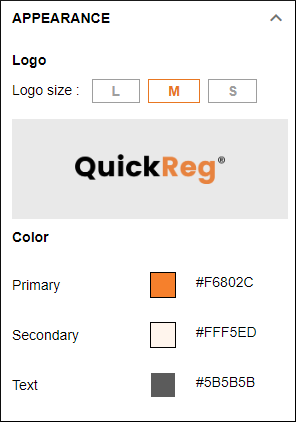
To upload a new image, click the image thumbnail in the Appearance section.
# Form text
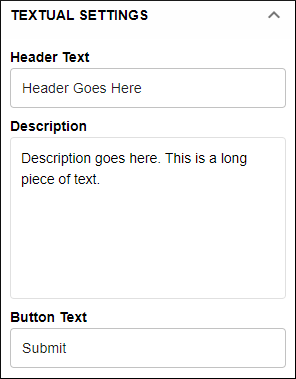
To edit the text displayed on the form, expand Textual Settings on the right.
You can edit titles, headings, descriptions, and button text.
