# Overview
When you open an account, we automatically create the first user. This user gets the role of Owner and can do things that ordinary users cannot, such as upgrade or downgrade the account's subscription, suspend or permanently deactivate the account. The Owner can also transfer ownership to another user on the account.
Free-tier accounts have a single user. For Enterprise accounts the number of users is unlimited.
Group assignment determines what users can do and which domains they can work on.
Note
If you downgrade your account to Free, only the Owner user will be able to access the admin console for your QuickReg® site.
To view and edit your account users, click Users in the Administration section of the left-side navigation panel.
# Adding Users
To create a new user account, click  at the top of the screen.
The Create account form will open.
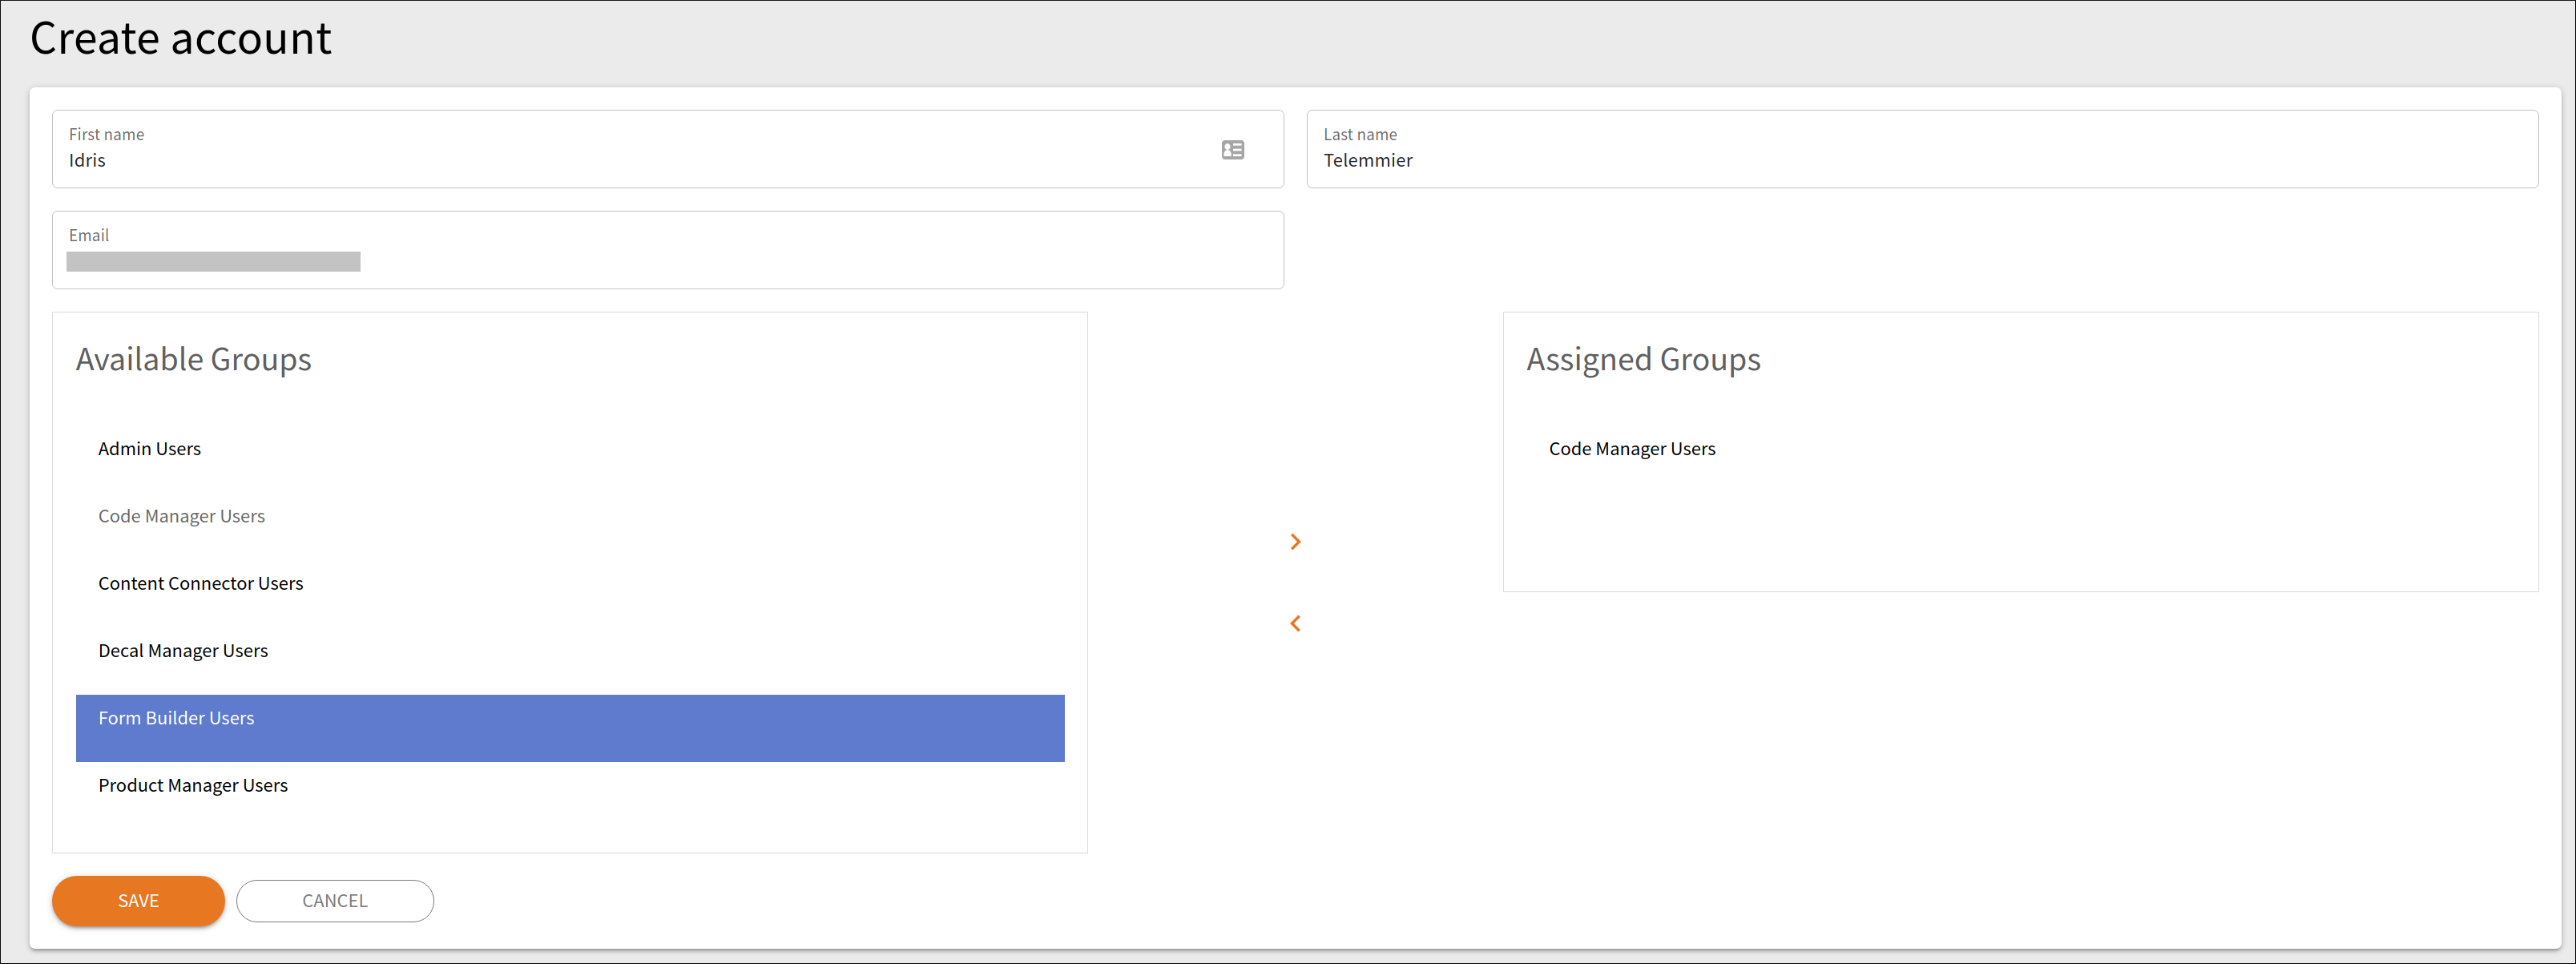
To add a user, you must provide:
- First name
- Last name
- A valid email address
To control the user's access to QuickReg applications, assign the user to groups:
- Select an available group from the left.
- Click the right arrow.
Note
Not all groups may be available in your subscription plan.
Once a group has been assigned, it will be grayed out in the Available Groups list.
To remove a user from a group, select the group from the right pane and click the left arrow.
# Editing Users
To edit the details of a user account:
- Click Users under Administration in the left navigation panel to see your account users.
- Click
 in the user row to open the User Info form.
 - Edit the user details.
- Click Save.
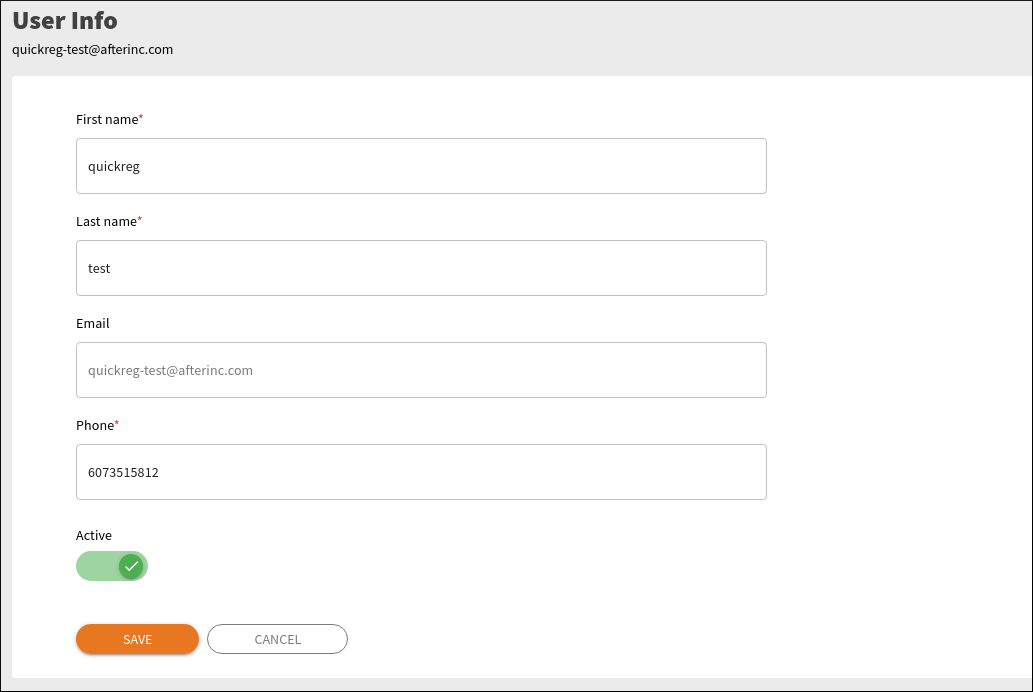
All fields are required. The Email field is not editable.
# Assigning Permissions
The user's application access permissions are controlled by group membership.
To edit a user's group membership:
- In the left-side navigation panel, go to Administration > Users to see your account users.
- Click
 in the user row.
The assigned group are listed on the right and grayed out on the left.
To move group from one list to the other:
- Click the group to select it.
- Click the right arrow or the left arrow.
The changes are saved automatically.
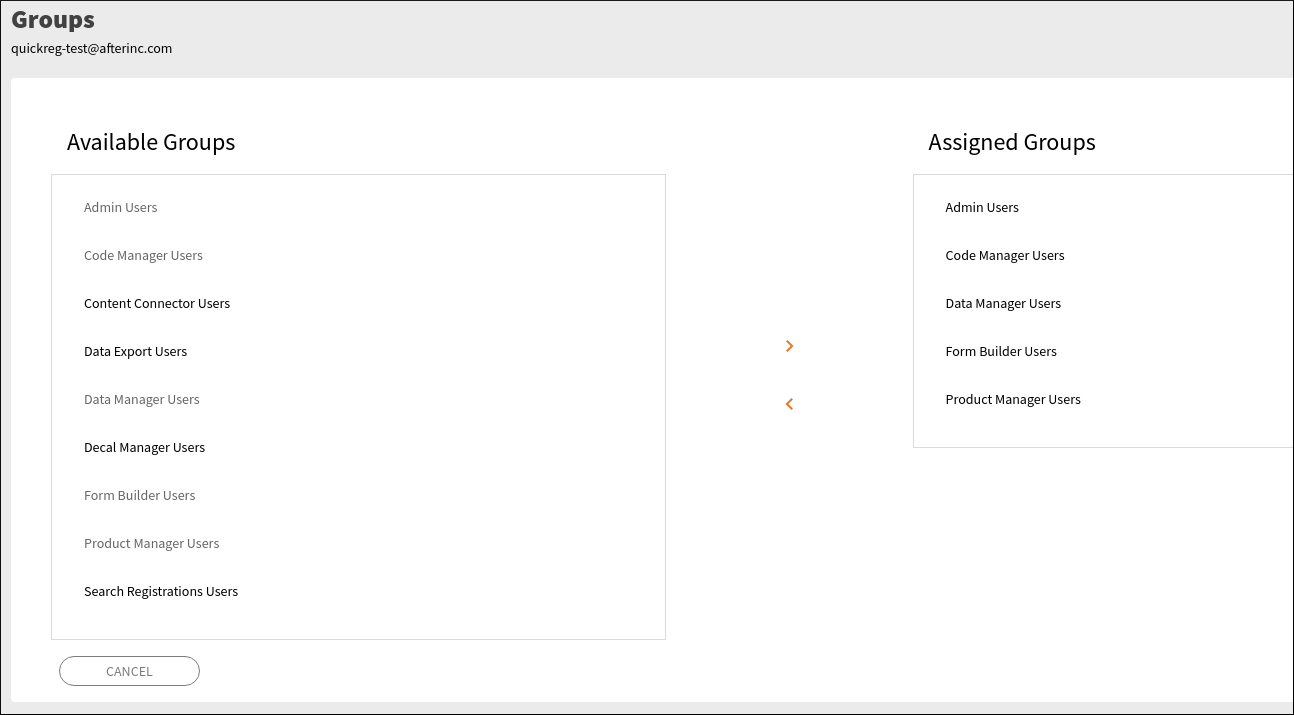
Click CANCEL to close the form.
# Deleting Users
To delete a user account:
- Click Users under Administration in the left navigation panel to see your account users.
- Click
 in the user row.
 - Type 'delete' in the confirmation box.
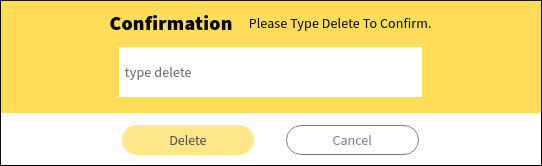
- Click Delete.