# Quick Start
Let's get you up and running with a quick tutorial on creating the basics .
On your home page, you will see a guide to setting up the essential features for your account.
# Step 1: Account Settings
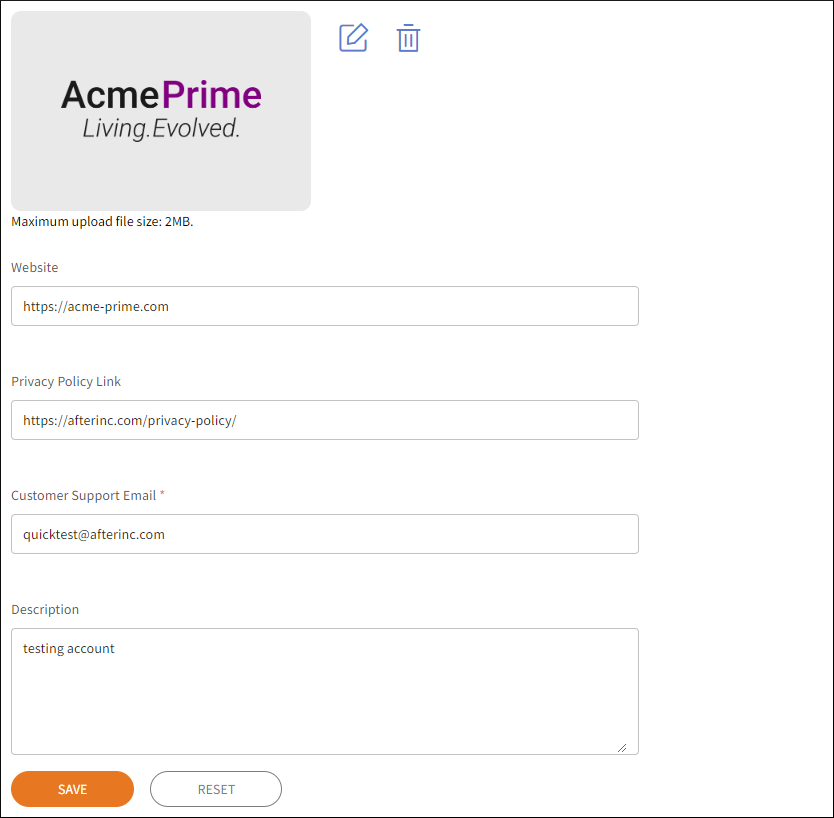
First, go to the Administration > Account Setting in the left-side navigation panel.
You can add your company's logo to personalize your admin portal. Select a file from your computer to upload.
![]()
In addition to adding a logo, you should:
- Provide the URL for your company's website.
- Add a link to your company's privacy policy. This is important, because in most cases, your customers will expect to understand their privacy rights with you.
- Add a support email where your customers can reach you. It is best if customers reach out to you in the event they have questions. In our experience, inquiries from end customers often go well beyond the scope of what we can answer.
- Add an optional description.
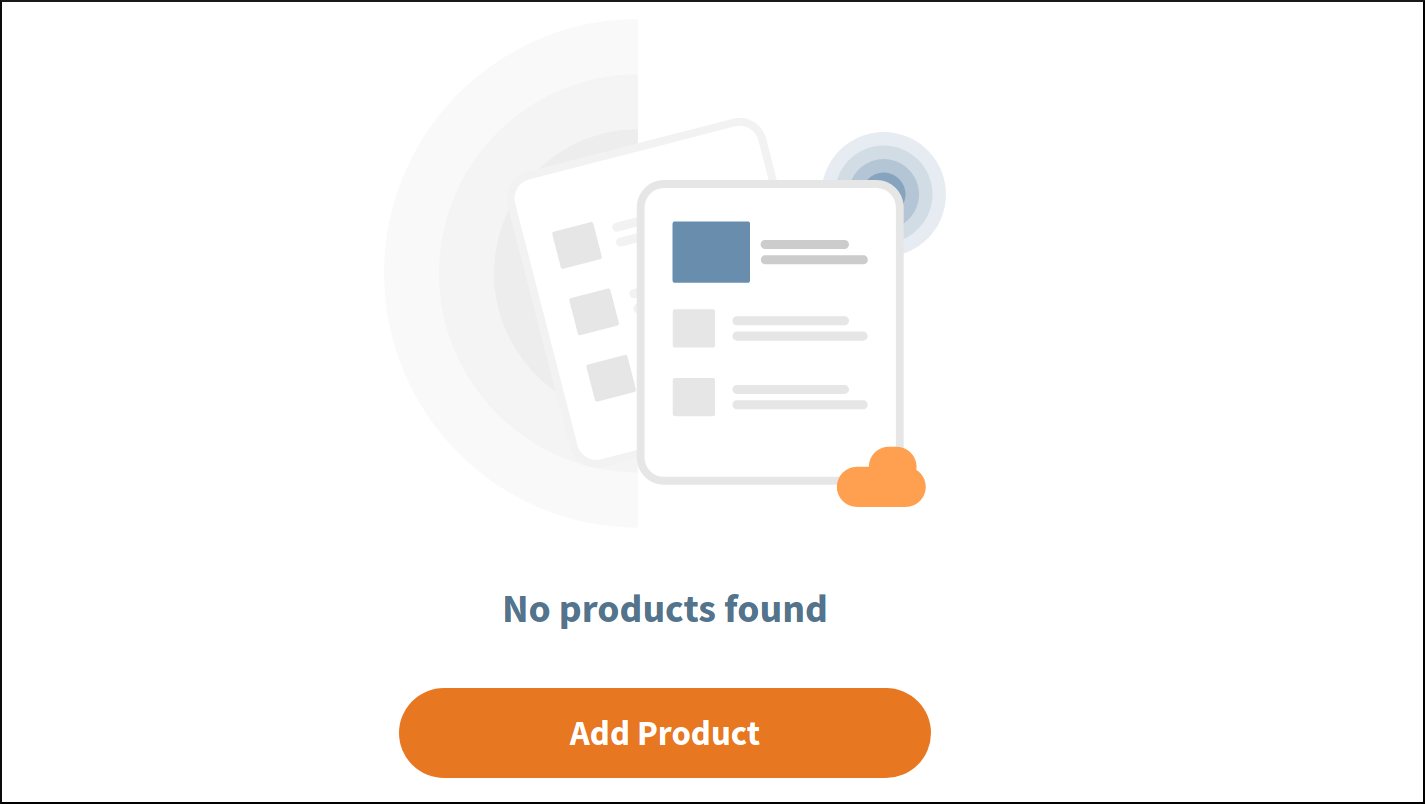
# Step 2: Add a Product
Next, add a product. There are two main steps to complete here:
- Provide some basic configuration data for your products, like product categories. We will need this before we create our first product. Please read Configuring Product Manager to learn more.
- Enter information for one of your products. Learn how to add and edit products.
Note that when you first create your account, the Products dashboard will be empty. Add a product to activate the dashboard.
# Step 3: Create a QR Code
QR Codes are a convenient way for your customers to access your QuickReg® site. You create scannable codes that you distribute on or with your products; customers scan these codes and come to your QuickReg® site. There are a wealth of options on how you can configure your QR codes, but for your first one we will start with a basic design.
If you need more help, learn about Creating and Managing QR codes.
# Step 4: Build and Launch Your Registration Form
Lastly, we will create a basic registration form. This will include:
- Customizing site appearance
- Selecting registration form fields
- Launching your site
To start these tasks, read Building Your Registration Site.
# Step 5: Try It Out
Now that you have the building blocks in place, you can try out your site from the end customer's perspective.
- Scan the QR code you saved in Step 3 above with your phone.
- Click the link on your phone to visit the site. You should see the form you created in Step 4 with the image of the product you added in Step 2.
- Complete your registration form and submit.
- In a few seconds, you should see your first registration appear in your dashboard reports.
# Need Help?
If you find that you are having an issue that cannot be solved from this documentation, you can use the feedback form. Click the Feedback button on the lower right of the screen to expand.
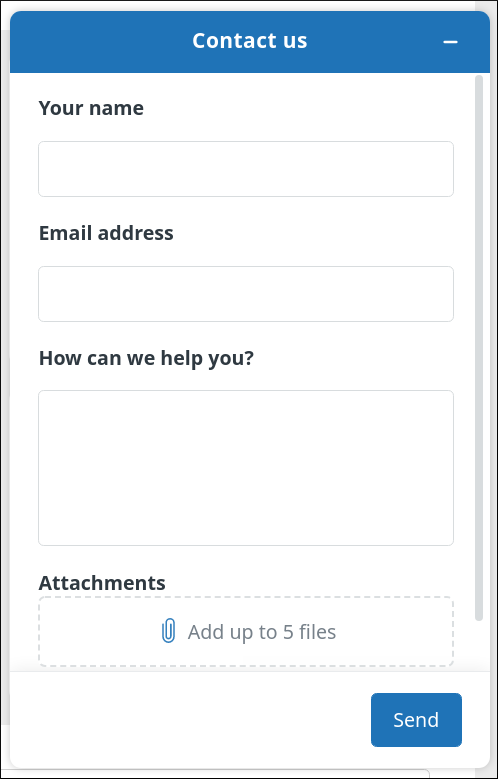
If you are getting errors, please take a screenshot and attach it to the request. You can attach up to five documents or images.
Please do not include any sensitive information, such as passwords.